
Replace the diagnosis by nickname
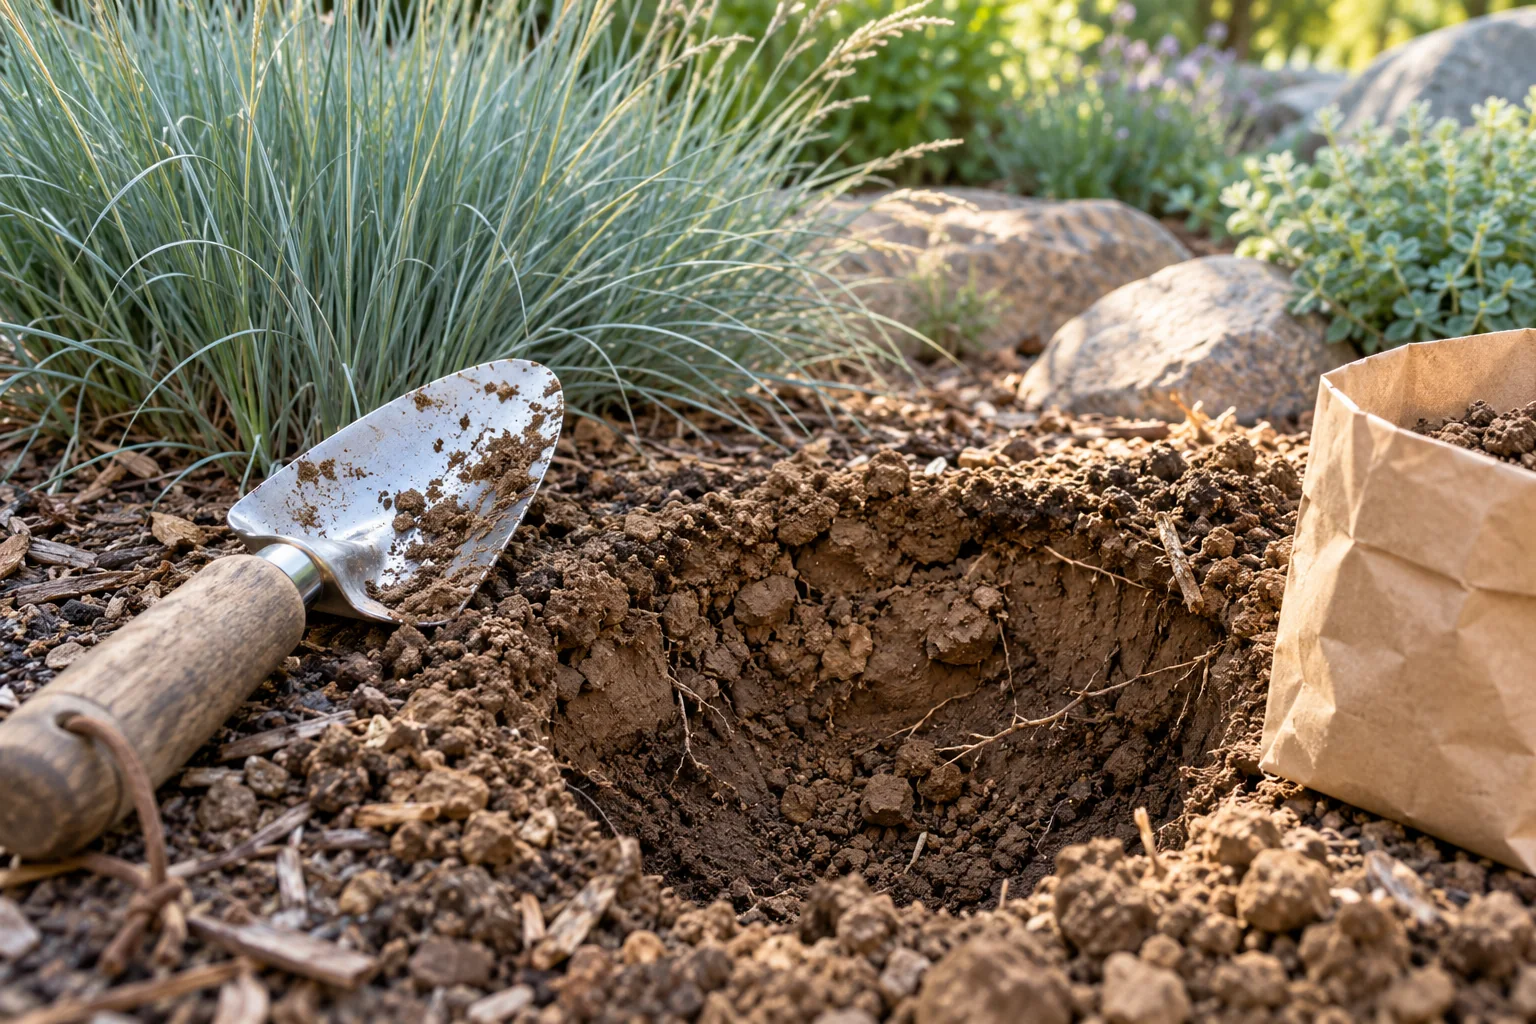
“It is all clay” can end a useful conversation before it begins. Two yards described that way may behave differently: one has an open surface and healthy established planting, while another was heavily trafficked during construction and holds water in a low corner. The word describes part of the soil, but it does not explain the entire site. Begin with what happens on the property rather than assuming a single remedy.
Keep a short record of where plants grow well, where the ground is bare and where puddles persist after a storm. Mark former construction access, heavily used shortcuts and areas that receive roof runoff. Photographs taken after rain are particularly useful. Together, these observations create a better design brief than a bag of soil improver chosen before anyone has looked at the ground.
Understand texture, structure and traffic
Texture describes the balance of sand, silt and clay particles. Structure describes how soil particles form aggregates and spaces. Compaction is another consideration, particularly where vehicles, stored materials or repeated foot traffic have affected the ground. These distinctions matter because replacing a plant will not necessarily address the conditions that made its position difficult in the first place.
CSU Extension identifies soil oxygen limitations as an important consequence of compaction and advises against cultivating clay-rich ground while it is wet. Treat the preparation schedule as part of the design. If the ground is unsuitable to work, waiting is more useful than forcing machinery through it simply to keep a planting date. Keep access concentrated on planned routes where possible.
Use a soil test to ask better questions
A soil test can add information about properties that are difficult to judge by looking, including pH and salts. Follow the laboratory’s current sampling instructions and explain what you intend to grow. Keep samples from meaningfully different areas separate when advised. A vegetable bed, an existing tree area and a new dry-adapted border may call for different conversations, even within a modest yard.
Bring the results to the person advising on planting and soil preparation. Ask what the report means for this particular landscape, which changes are useful and which are unnecessary. It is reasonable to ask why an amendment has been recommended and how its quality will be assessed. A clear answer should connect the product and amount to a specific condition, rather than describe it as something every garden always needs.
Distinguish an amendment from a mulch
An amendment is mixed into the soil to change its properties; mulch sits on the surface. They are different operations with different purposes. CSU Extension’s soil-amendment guidance emphasizes the intended planting, site conditions and test results, and notes that some products can contain problematic salts. Adding more material is not automatically a better result, particularly if the starting conditions have not been understood.
Write the proposed preparation into the project scope in plain language. Identify which areas receive treatment, what material is used and when the work happens. Keep product information with the garden records. This makes later decisions easier and prevents each new phase from receiving another automatic application without reference to what was already done.
Do not hide a drainage question under a planting plan
A low spot that receives water from several directions deserves attention before a bed is drawn across it. Record the source and route of the water and discuss it with an appropriately qualified professional where needed. Soil improvement, grading, drainage infrastructure and plant selection are connected, but they are not interchangeable solutions. A moisture-tolerant plant does not make a building-related drainage problem disappear.
Be especially careful with changes near foundations, existing trees, neighboring properties and buried services. A design sketch is a starting point for coordination, not a construction instruction. Ask how the proposed surface levels and water routes will be checked. Resolving those questions early gives the finished planting a sounder setting and avoids using a decorative border to conceal an unresolved practical issue.
Choose a palette that belongs in the conditions
A plant list should respond to the soil and water pattern that will actually exist. Begin by identifying the character you want: upright forms, soft silver foliage, a light canopy or a long sequence of flowers. Then find suitable plants that can provide those qualities. This approach leaves room for a coherent design without insisting on an exact species from a photograph taken in a very different garden.
Make the irrigation plan part of the discussion. New planting, established trees and lawn do not necessarily share a useful watering schedule. If existing plants are thriving, record their location and care before making wholesale changes. Keeping something that already belongs can be a better foundation than stripping the yard and trying to create one uniform set of conditions everywhere.
Protect the preparation you have paid for
Good preparation can be undermined by the next stage of work. Establish delivery and access routes before planting, and avoid turning newly prepared beds into convenient storage. Put maintenance access on the drawing so that future work does not require repeated shortcuts across the soil. Coordinate the sequence of paving, irrigation and planting with the people carrying it out.
After installation, keep a simple record of plant performance, watering changes and areas that behave unexpectedly after rain. Review patterns before buying replacements. The aim is not to manufacture perfect soil everywhere; it is to understand the ground well enough to make appropriate decisions, protect its condition and give the garden a manageable future.